Poseymom
Live Milk Kefir Grains
Share


Milk Kefir: The Ultimate Guide, with Instructions and FAQ
Warning, during this COVID era, we must protect our probiotics from bleach, antibacterial products, and disinfectants. Read more about how we do this HERE.
Milk kefir, or dairy kefir, is a wonderful way to naturally boost your immune system and overall health, all by improving the health of your gut bacteria. This page teaches you everything you need to know to get started growing milk kefir for yourself.
Probiotics and prebiotics are a hot topic in the health world today, and that’s for good reason. Every day, scientists are learning more and more just how important gut health is to your overall health and happiness. Let’s dig in and learn what we can about on famous probiotic product, milk kefir.
What is Milk Kefir?
Simply put, milk–or dairy–kefir is a living culture that grows in and ferments milk. Because the culture is made up of thousands of strains of beneficial micro-organisms, kefir can boost your gut health, as well as improve your overall health.
The milk kefir culture is often referred to as “grains,” but this is simply a description of what the culture looks like. Kefir doesn’t have any wheat or other grain in it.
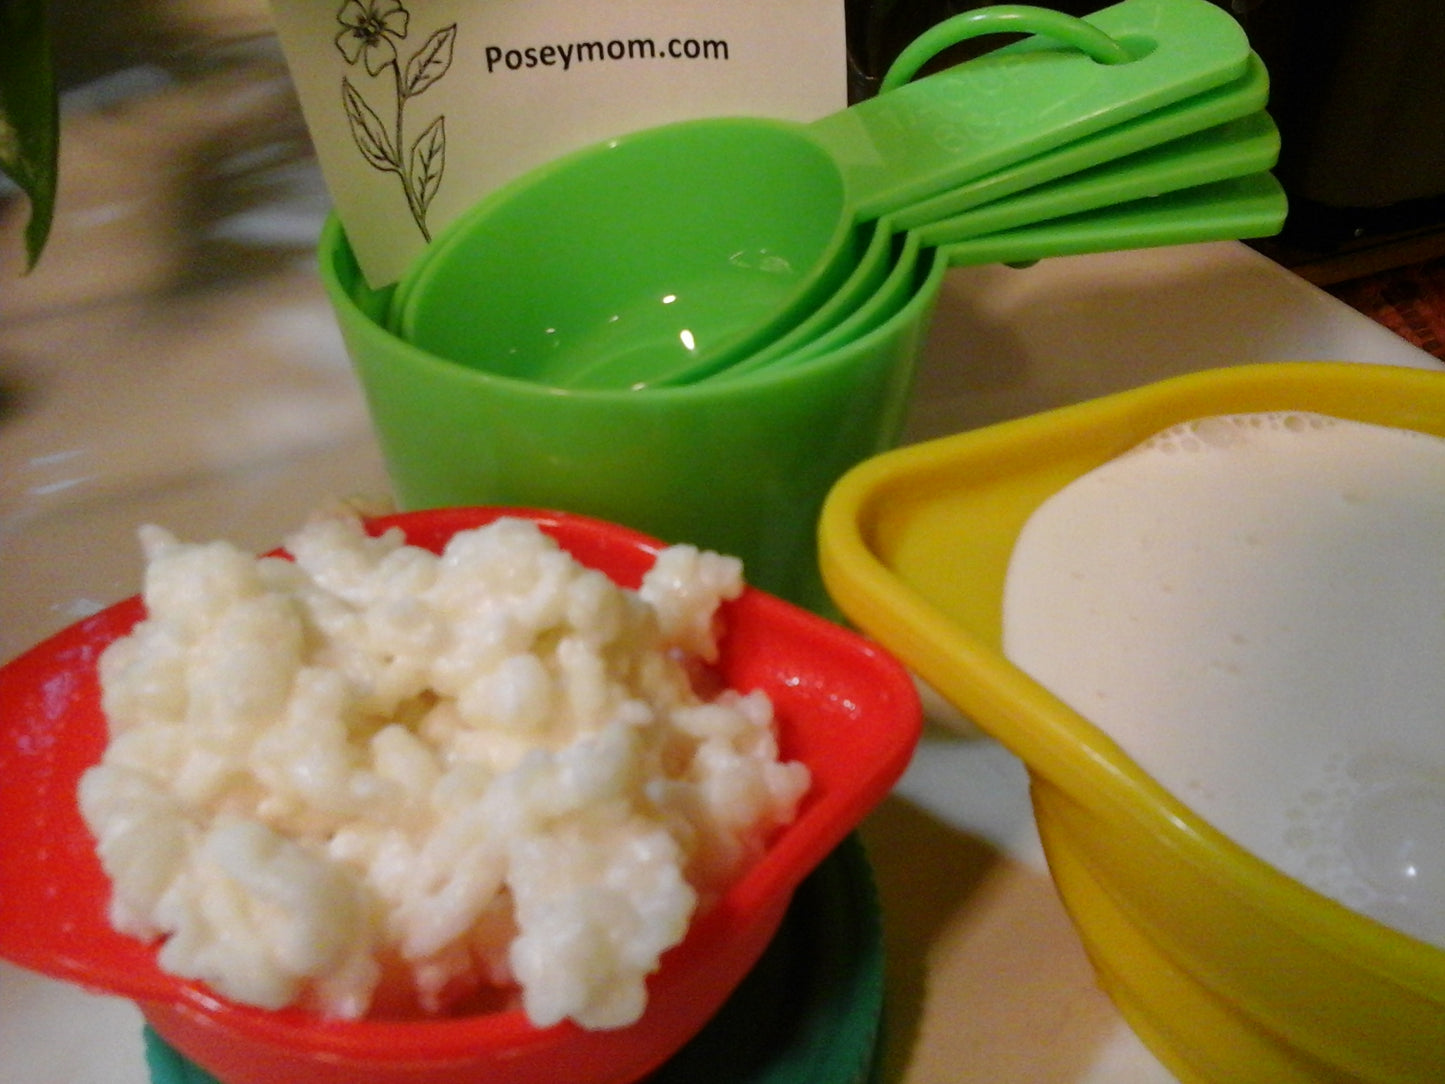
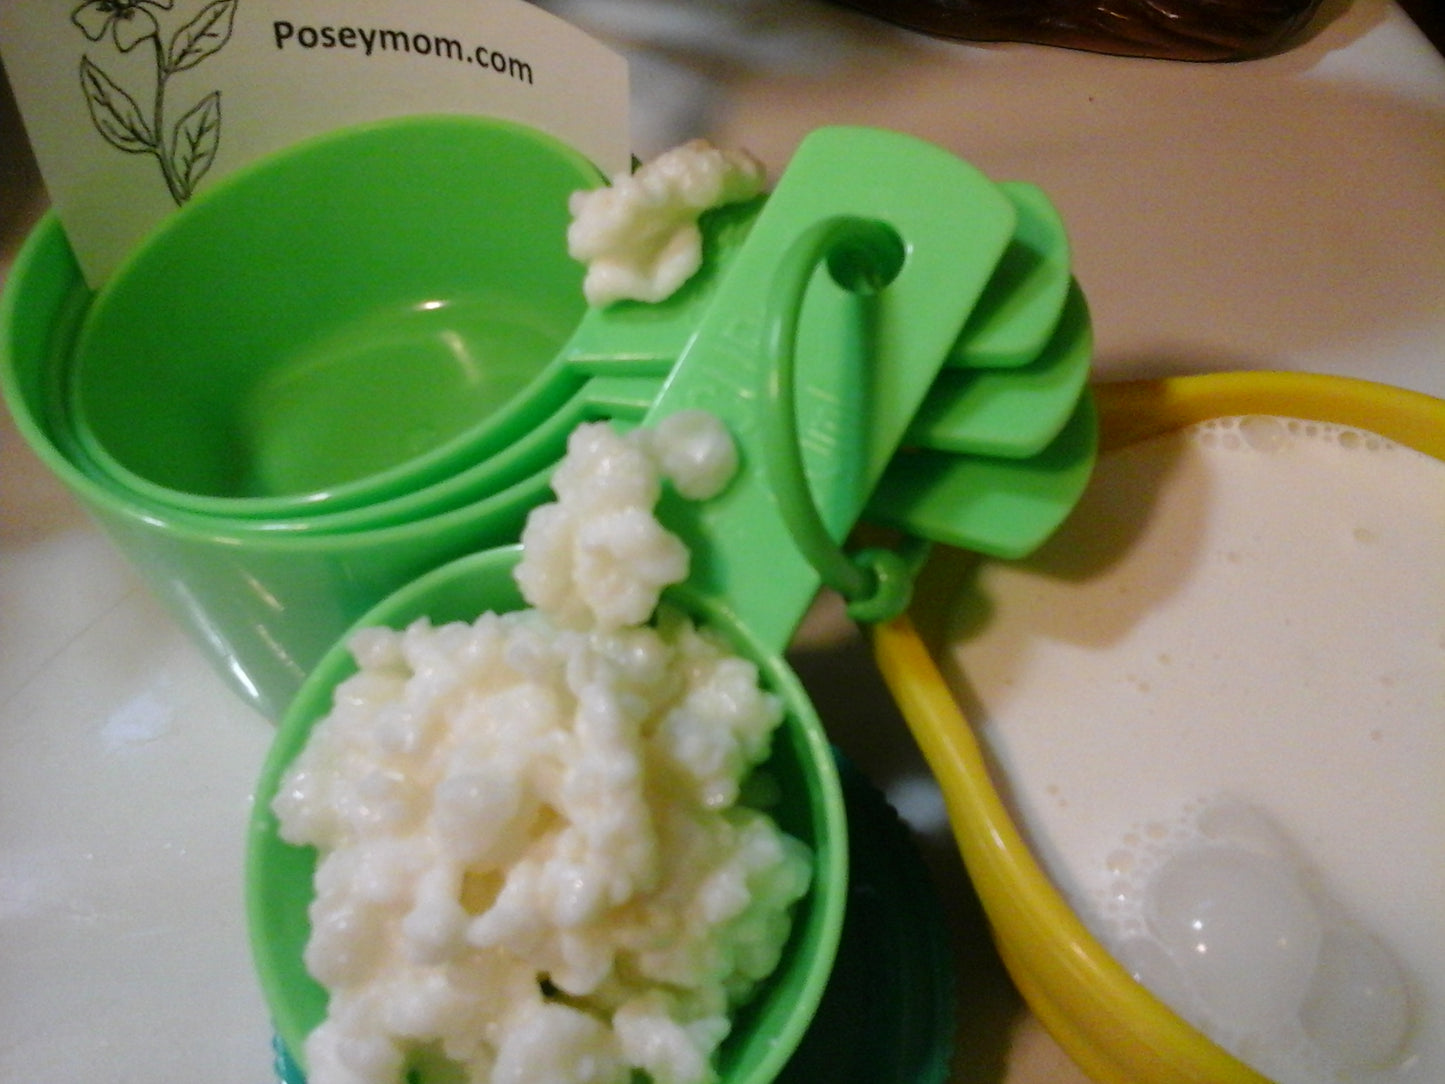
In fact, milk kefir grains often look a lot like white, milky cauliflower heads!
Why is Milk Kefir Good for You?
Whether we realize it or not, our health depends greatly on the health of our digestive system. Many infections, drops in the immune system, or infections start with an unhealthy gut.
Essential to keeping our digestive system healthy is the living forest of micro-organisms living in our gut. This is called our microbiome. Essentially, the stronger your microbiome, the better your health will likely be.
Milk kefir, as well as other probiotic products, boost your health by strengthening your microbiome, supplying thousands of new recruits to the ongoing battle against disease and infection.
Compared to water kefir and kombucha tea, milk kefir has far more beneficial micro-organisms. That makes it even better for you that other probiotics!
Where Can You Buy Milk Kefir?
You can find many flavored probiotic drinks at your local grocery store. Want some chocolate milk kefir? Just buy it next time your shopping. Pretty easy, right? Well, that may not be the best idea.
Anything you buy at your grocery store has to pass the standards of the government, and that means that all dairy products have been pasteurized. As a result, many of the beneficial bacteria living in that culture are killed long before you can consume them.
That means any kefir you buy at the store will not be nearly as beneficial for you as the original product, which you have to grow yourself at home.
But we have good news! Growing your own milk kefir is actually very easy! All you need is a starter culture and a few ingredients, and you can quickly become a probiotic pro!
We at Poseymom strive to provide the very best probiotic cultures to our customers, and at the lowest price possible. Feel free to check out our milk kefir, as well as our water kefir!
What You’ll Get in the Mail
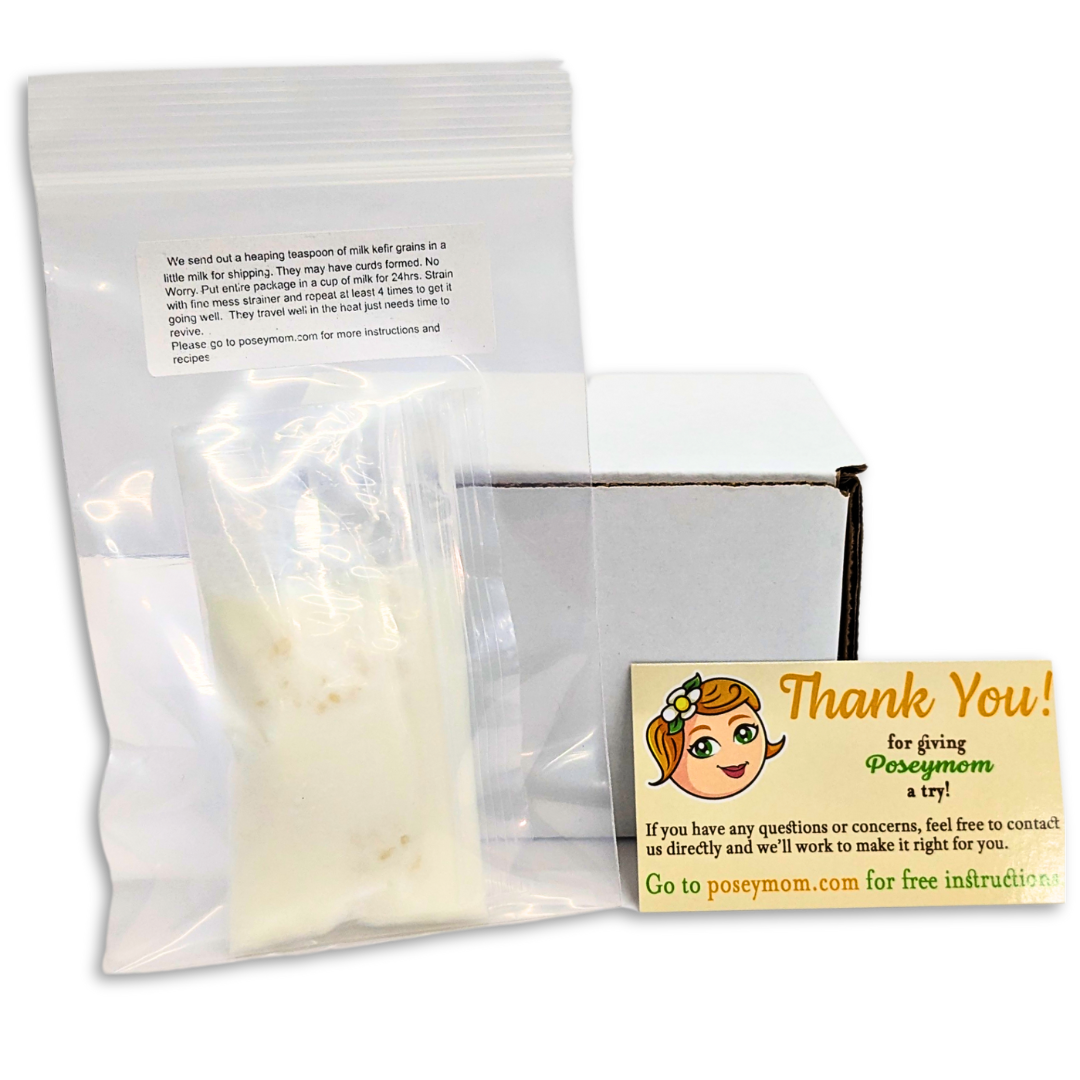
When you order live milk kefir grains from Poseymom, you’ll receive 1 heaping teaspoon of active grains, double bagged, heat sealed, and shipped in a box.
It’s best to open and start growing your kefir right away. You can put the double-bagged grains in the fridge for up to 7 days for guaranteed freshness. The earlier you get started, the better.
The Complete Milk Kefir Growing Instructions
What You’ll Need:
- 1 teaspoon of Milk Kefir Grains (in the bag)
- 8 oz of milk (any variety is fine…1%, 2% or whole…? Your choice). IT IS NOT recommended to use Ultra pasteurized milk.
- One pint-size glass jar
- One coffee filter or paper towel
- One mason jar ring or rubber band
- One plastic mesh strainer (No metal!)
Your First Batch
Add the milk to your jar. Gently add the full contents of the bag to the milk.
Note: Now, we suggest you add both the grains and the starter liquid to your jar of milk. But some customers receive their milk kefir starter and don’t see the grains in the milk. If you prefer, you can strain the milk and add the grains directly.
Stir gently with a wooden or plastic spoon. (No metal!)
Then cover the jar with the coffee filter or paper towel. Use the mason jar ring or rubber band to secure the filter/towel in place.
Let this sit out on your counter for about 24 hours.
Longer fermenting gives you a more tangy taste. You will notice the milk will get clumpy and will rise to the top…leaving the “whey” at the bottom of the jar. That’s OK!!! Just stir your grains/milk gently before you strain out your grains. You will use a plastic mesh strainer (metal is not recommended by most growers)
To strain simply hold your strainer over a bowl and pour out your fermented milk. Then gently shake and jiggle the strainer. The fermented milk will separate from the grains…the runnier stuff first, then the thicker, creamier milk last.
And that’s it! You’ll have your first batch of milk kefir to drink and enjoy. Some drink it warm, while others prefer to chill it in the fridge first. You can also add the kefir to your milkshakes and smoothies!
Making New Batches
The kefir may not ferment the milk as desired in the first 24 hours. That’s okay. Sometimes, the grains need time to adjust to their new conditions. Just change out the milk for a new batch. Repeat the above process with each new batch.
Simply take your “grains” and add them again to another jar of milk and ferment another batch. There is no need to rinse your grains between batches.
When you grains have “reawakened” and are fermenting at full speed…you can get a new batch of milk kefir every 24 hours.
Taking Breaks
Making milk kefir, batch after batch, can be tiring. Water kefir and kombucha have much longer fermentation periods, and so they are lower maintenance. You may want to take a break between milk kefir batches.
If you do decide to take a break from fermenting, just put your grains in a small jar and cover them with milk (about ½ cup) and keep them in the fridge. They will stay dormant for several weeks without changing the milk.
Your grains will grow and reproduce over time, but the process is very slow and unrecognizable for most…especially during the winter months. After some months you may have enough excess grains to share with a friend or start multiple jars simultaneously.
What is Milk Kefir Second Fermentation?
Whenever you follow the above instructions, you’ll be making a perfectly healthy, immune-system-boosting dairy kefir beverage. However, if you want to take your probiotic skills to PRO level, you’ll want to learn about second fermentation. What is that?
Simply put, second fermentation is allowing your probiotic beverage to continue to ferment, changing its flavor, texture, and beneficial powers. How can you do that?
Once you’ve strained out the milk kefir grains from your kefir beverage, there is still plenty of active culture in the milk. If you leave your kefir milk on the counter or in the fridge for a number of hours or days, those micro-organisms will continue to grow and multiply, further fermenting the beverage.
The second fermentation is the perfect time to add additional flavor to your probiotic beverage, as well. You can add fruit, spices, or other ingredients to change the flavor of the milk during the second fermentation.
How long do you leave your beverage to second ferment? That depends on what you want to make with your kefir. In fact, did you know you can make yogurt or cheese with your dairy kefir?
Making Kefir Yogurt and Cheese
Soft Kefir Cheese (or Yogurt Cheese)
8 cups (or more) homemade kefir or homemade yogurt
Supplies needed: Strainer Bowl Cheesecloth or thin dish towel
Instructions:
Place your strainer in the bowl. (Ideally the bottom of the strainer should rest at least a few inches above the bottom of your bowl.) Line with the cheesecloth (2 layers of 90-count cheesecloth works perfectly!) or clean thin dish towel.
Pour your kefir or yogurt into the cheesecloth or towel. Allow to grain for 15-20 minutes. Carefully and gently tie the towel ends together to cover the kefir (or yogurt). Allow kefir to drain for an additional 8-24 hours (can be kept out on the counter or in the fridge while draining), until the cheese is the consistency desired.
For a sour cream consistency, I like to drain for about 8 hours. This makes a creamy spreadable texture, perfect on tacos, beans and rice, or spread on crackers!
For a thicker cream cheese consistency, drain for 18 hours (approximately). This is great for cheese balls or cheese spread.
Drain for 24 hours or so for a thick soft cheese consistency.
Add herbs if desired! Store cheese in fridge until used (keeps for several weeks)
The longer you let your milk kefir second ferment, the thicker it will become. In fact, you’ll notice that your kefir beverage will taste more and more like real, completely natural yogurt.
Kefir yogurt happens naturally after an extended second ferment. You can experiment to see how the milk changes with time, and how it reacts to different flavors. In fact, you can discover your new favorite flavor by playing around with ingredients during the second fermentation.
To make a soft cheese, you’ll need a cheesecloth. You can easily find these online. After a day or two of second fermentation, straining the watery whey from your kefir, leaving the chunky curds behind. Do this every day or so, and your kefir will become thicker and thicker. The smell is strong! So you might want to designate a special room for this.
Over time, your kefir can become a soft, natural cheese, full of healthy bacteria!
How to make coconut milk kefir
1. Add 1 teaspoon of fresh kefir grains to 1 cups of coconut milk.
Note: I made my own coconut milk by blending 1 cup of shredded coconut with 2 cups of water and straining the liquid through a nut milk bag.
2. Combine the grains with the coconut milk in a glass jar. Cover with a cloth secured with a rubber bad and let it sit on your bench (a warm environment is best for fermenting) for 12-24 hours. Give your kefir a few shakes or stirs after about 12 hours.
3. Once the coconut milk has thickened and has a slightly sour flavour, it has turned into kefir. Strain the mixture through a fine plastic strainer to remove the grains. Store kefir in the fridge and enjoy.
Hints:
+ Kefir doesn’t like metal, so never use a metal container to make kefir or a metal spoon to stir it. This disrupts the process and the kefir won’t thicken. Use glass containers and wood or plastic spoons.
+ If your kefir doesn’t thicken with 24 hours, it might be that the temperature in your house isn’t warm enough.
+ Don’t freak out if your first batch of coconut milk kefir doesn’t get as thick or tangy as you’d like. Mine was tangy, but not super thick. Apparently it can take a few batches to acclimate the kefir grains to coconut milk.
Milk Kefir Top FAQ
What Kind of Milk Can I Use to make Milk Kefir?
This is a very common question. You can use any milk (whole, 2%, etc) that has lactose in it since that’s what milk kefir feeds on to grow. So no lactose-free milk.
Will milk kefir hut me if I’m lactose intolerant?
No. The milk kefir culture actually eats lactose. So the beverage becomes lactose-free as it ferments. Of course, you should be cautious when first experimenting with milk kefir, just to be safe. Beverages that have gone through a second fermentation will have even less lactose, making it safer for you.
Can I use Almond milk (or another milk substitute) to make milk kefir?
Yes you can. Remember though Milk kefir feeds on lactic acid in milk. Any lactose-free milk substitute, like almond or soy milk could cause the culture will suffer and die. To keep them healthy every 3-4 times rune your grains with cows milk for several runs to keep it fed. Also as your grains grow use some in milk some in alternate milk substitutes.
